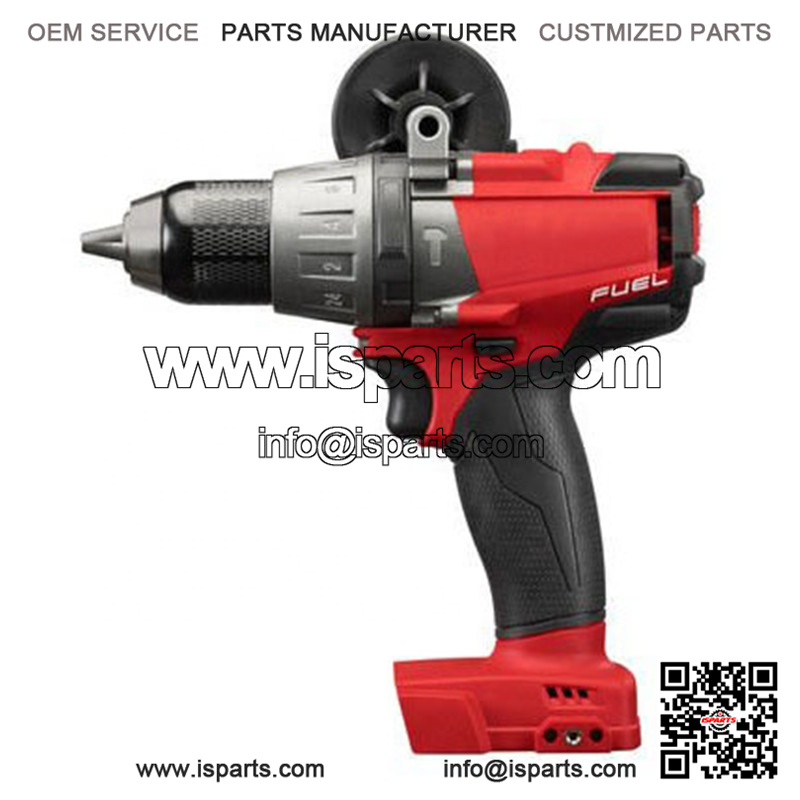
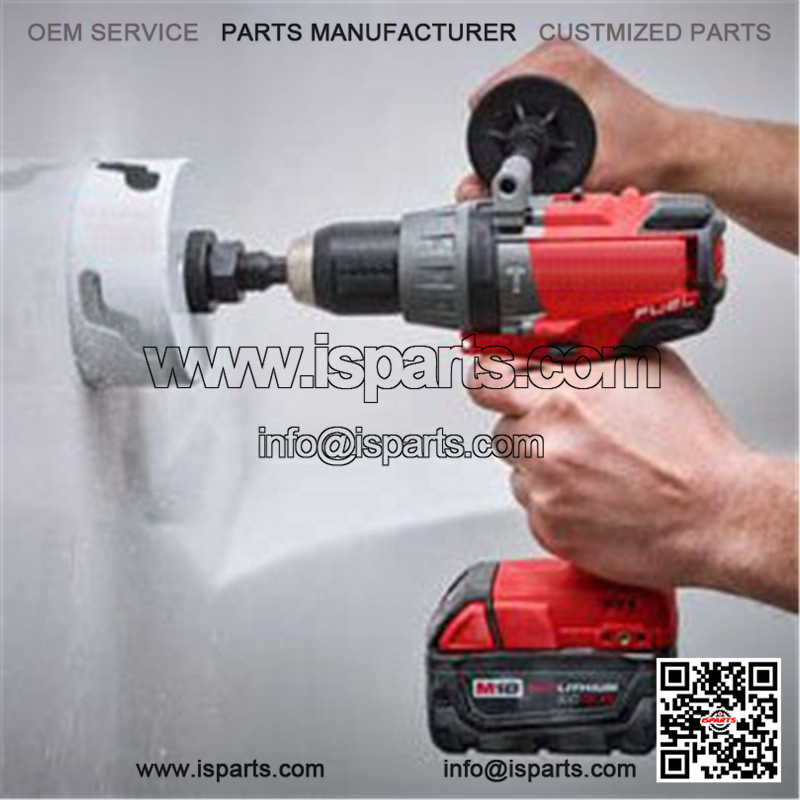
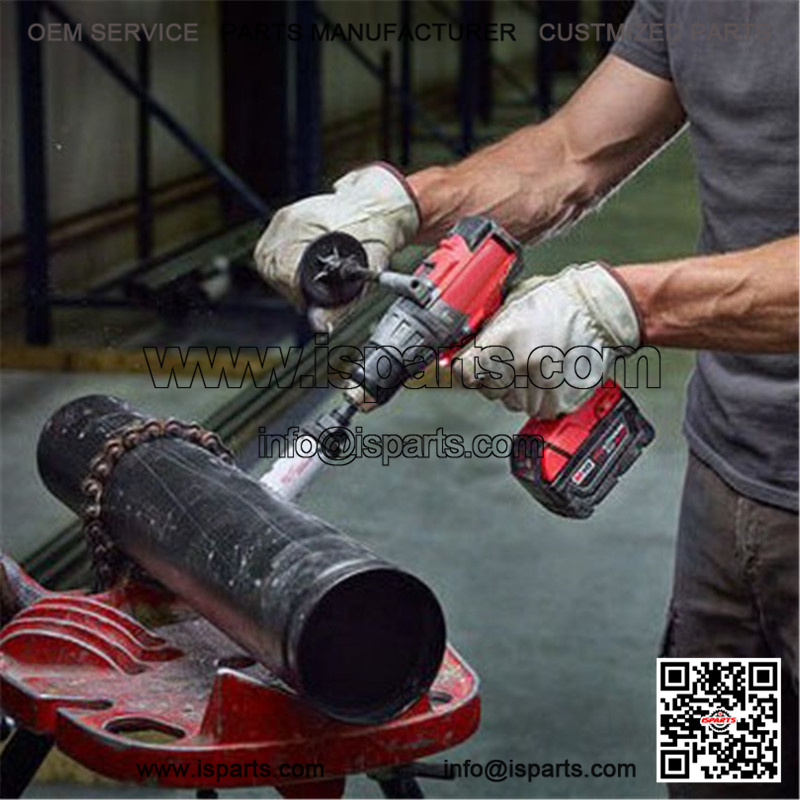
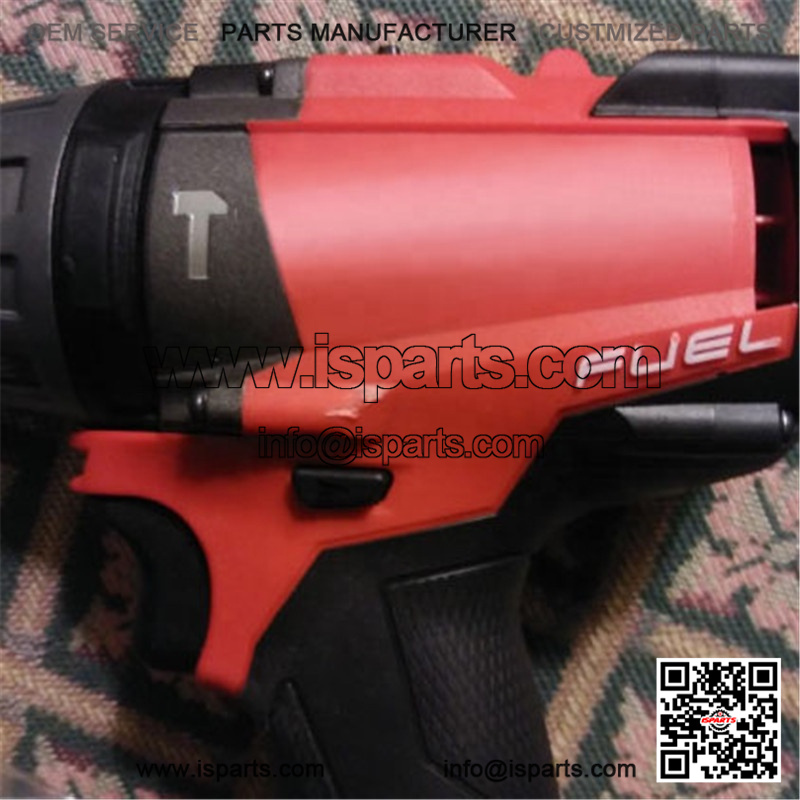
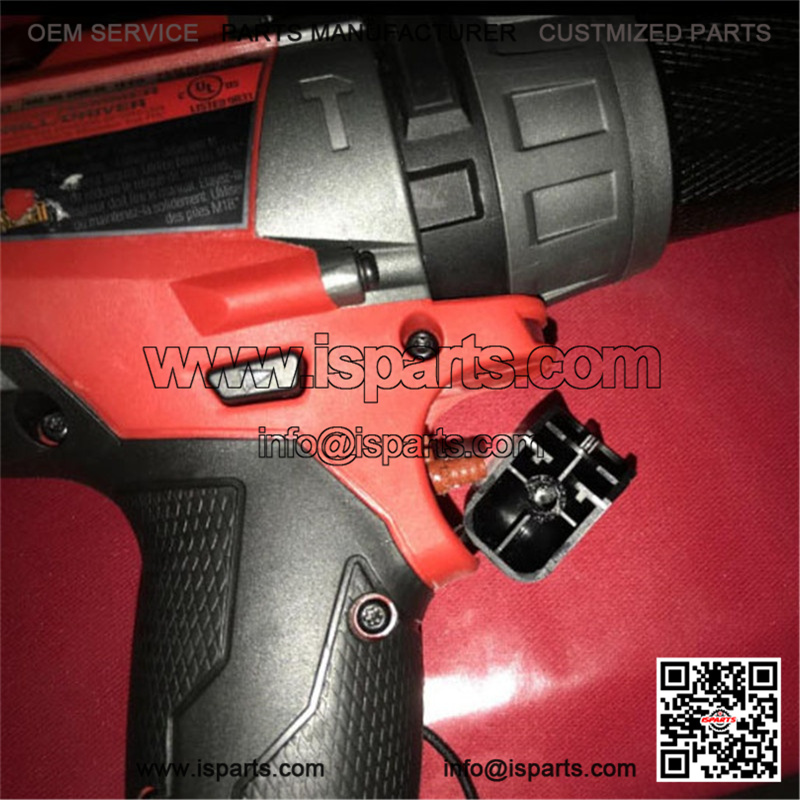
2704-20 M18 FUEL 1/2″ Brushless Motor Hammer Drill/Driver (Bare Tool)
Product categories
- ATV Parts (16710)
- Bicycle Parts (500)
- Camshaft (248)
- Car Parts (10440)
- Clutch (2134)
- CV Axles (8)
- Dirt Bike Parts (33)
- Garden Parts (4)
- Go Kart Parts (737)
- Golf Cart Parts (5913)
- Lawn Mower Parts (10897)
- Minibike Parts (1273)
- Motorboat Parts (519)
- Motorcycle Parts (10990)
- OEM Parts (99)
- OIL COOLER (62)
- Other Parts (1679)
- Scooter Parts (3764)
- Snowmobile and Snow Blower Parts (2863)
- Tractor and Trailer and Truck Parts (7451)
- UTV Parts (8160)
Product tags
2704-20 M18 FUEL 1/2″ Brushless Motor Hammer Drill/Driver (Bare Tool)
2704-20 M18 FUEL 1/2″ Brushless Motor Hammer Drill/Driver (Bare Tool)
Description
Some of the main features of this hammer drill are its push and pull motion along with the powerful drilling effects. These unique
effects of the hammer make it efficient for drilling on hard materials efficiently and much quicker. That is why it is essential
for the beginners out there to know how to use this drill properly.
Step-1: Get the correct measurement Either you are drilling or fixing any materials, it is of utmost importance that you have the
right measurement of the material before getting started. First of all get the size of the bit that you want to drill on the
specific material. Also, keep in mind an approximate measurement of the hole. Before you start drilling a big hole in the
material, try to drill a small portion of the material to check the accuracy of the bit. Point to be noted: A bit is equipment
that you drill or make a hole with.
Step-2: Choose the right nails Choosing the correct size of the bit or nails depends on the material that you will be drilling.
This is an essential step. Make sure that you also consider the sharpness of the bit. You do not want to spoil the shape of the
hole with a dull bit. If you re going to seal the bit with the hammer drill tightly, you can also use carbide.
Step-3: Attach the bit with the drill Next step is to attach the bit with the hammer drill. Ensure that the bit should be tightly
sealed with the drill. To tighten up the bit more, you can use a tool named Chuck. As mentioned above, you can also use carbide
for some additional tightening.
Step-4: Set up the drill bit It is time to follow this specific instruction very carefully. Measure how deep the hole should be.
For example, if your hammer drill got a depth stopper feature, then you should set up the bit in that desired depth. Otherwise,
use masking tape to wrap up the bit. It will be easier for you to set up an extent and then to drill it.
Step-5: Plug up the drill Avoid using the extension cord as much as possible. It can be dangerous. If possible, use a heavy duty
cord for this drill. Plug it and select the hammer setting. Ensure to keep yourself away from any damage. That is why; don t
forget to wear safety goggles,ear defenders as well.
Step-6: Point out the area Put the drill in the preferred area. The pointing should be at the perfect spot. Pull the trigger and
guess what Start drilling. Don t apply too much pressure while you drill. The tool will do the job for you.
Step-7: Blow it all away Are we done I guess not. After you are with the drilling, there will be some dust and bits of rocks as
well. Blow that debris away. Sometimes the hammer the drill may not work. Then you can use a concrete nail in the hole and then
hammer it. It s simple.

