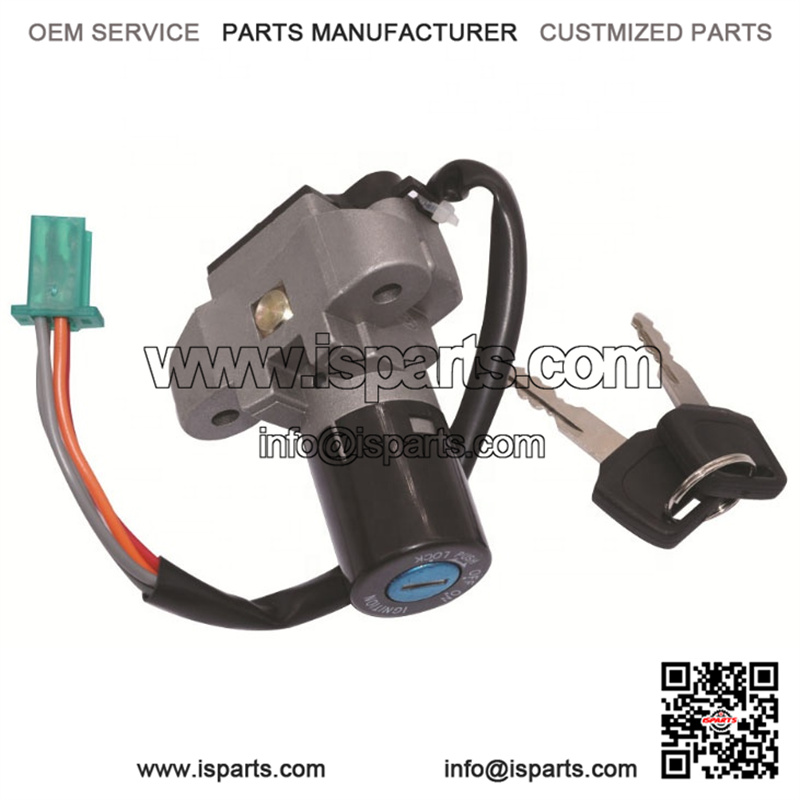
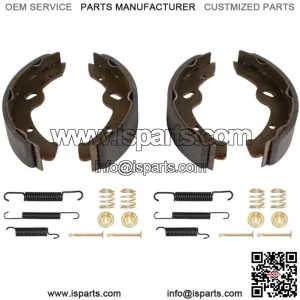
Applicable to Haojue Motorcycle Suzuki Ruishuang EN125-2/2A/2F/2E full car/electric door lock
Product categories
- ATV Parts (16710)
- Bicycle Parts (500)
- Camshaft (248)
- Car Parts (10440)
- Clutch (2134)
- CV Axles (8)
- Dirt Bike Parts (33)
- Garden Parts (4)
- Go Kart Parts (737)
- Golf Cart Parts (5913)
- Lawn Mower Parts (10897)
- Minibike Parts (1273)
- Motorboat Parts (519)
- Motorcycle Parts (10990)
- harley motorcycle (1189)
- OEM Parts (99)
- OIL COOLER (62)
- Other Parts (1679)
- Scooter Parts (3764)
- Snowmobile and Snow Blower Parts (2863)
- Tractor and Trailer and Truck Parts (7451)
- UTV Parts (8160)
Product tags
Applicable to Haojue Motorcycle Suzuki Ruishuang EN125-2/2A/2F/2E full car/electric door lock
Applicable to Haojue Motorcycle Suzuki Ruishuang EN125-2/2A/2F/2E full car/electric door lock
Description
Step 1: Prepare Engine for Installing New Ignition Coil
Turn off the engine ignition switch and disconnect the ground cable for the battery. Remove the fuel tank to access the ignition coil and spark plugs. Remove the motorcycle seat as well if needed.
Step 2: Disconnect the Ignition Coil
At the ignition coil, disconnect 2 wires: the cable going to the ignition switch, and the black ground cable. Take off the ignition cover plates and the gasket. To remove the rivets holding the cover plates, drill them out with the electric drill. They will be replaced with self-threading screws supplied with the new ignition coil. Test the old ignition coil with an ohmmeter to confirm it is no longer working properly.
Step 3: Set Out the Parts You Need in Order from Front to Rear
Some motorcycles have multiple ignition coils, perhaps one per cylinder. Change the coils in order from the front to the rear of the engine to avoid confusing them. Mark the spark plug wires that connect to each coil in order to make installing the new ones easier.
Step 4: Modify Connectors as Needed
Some ignition coils need a right-angled wire connector so the wires fit correctly. Slip the right-angled boot onto the wire and push it up the wire. Flatten the ignition wire with cutting pliers and needle nose pliers and open up the original copper connector and trim it to fit the reverse side of the right-angled connector.
Step 5: Connect the Wire to the New Connector
Using crimp pliers or needle nose pliers, fold and crimp the connector onto the ignition coil wire. Make sure the small “ear” sections of the connector are embedded into the ignition coil wire. You can also solder the connector into the right-angled connector. Test the connections between the ignition wire and connectors at both ends with an ohmmeter. If one coil has failed, its reading will be zero (“open”) on the ohmmeter.
Step 6: Cover Connectors with Right-Angled Boots
Slide the right-angled boots down the wire so they cover the right-angle connectors. Turn the boot covers so there is adequate clearance between the ignition coil wires and the engine.
Step 7: Reattach the Ignition Coil Covers
If these are metal covers, use the self-threading screws with locking nuts to reattach the covers. If the covers are plastic, they will just slip over the coils and snap on.
Step 8: Reinstall the Fuel Tank
Mount the fuel tank over the engine and secure it with the mounting bolts. Fasten the fuel line into place.
Step 9: Reinstall the Motorcycle Seat
Put the seat back onto the frame and hook the seat into it. Ensure the seat is securely fastened.

