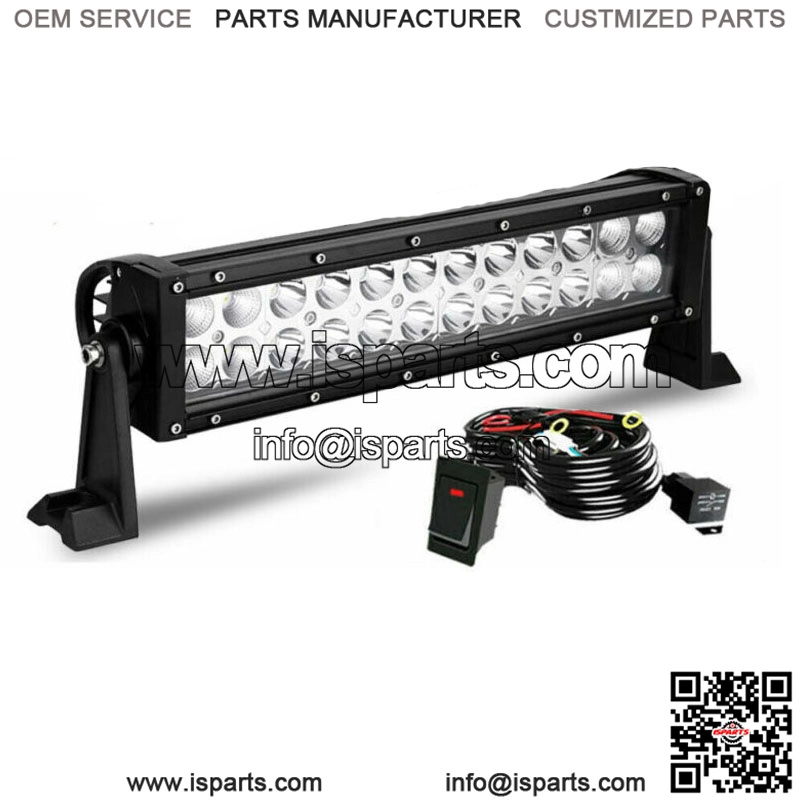
Dual-Row 12inch LED Work Light Bar Spot Flood For Polaris Ranger Yamaha UTV ATV
Product categories
- ATV Parts (16847)
- Bicycle Parts (500)
- Camshaft (248)
- Car Parts (10440)
- Clutch (2134)
- CV Axles (8)
- Dirt Bike Parts (33)
- Garden Parts (4)
- Go Kart Parts (737)
- Golf Cart Parts (5914)
- Lawn Mower Parts (10985)
- Minibike Parts (1273)
- Motorboat Parts (519)
- Motorcycle Parts (10207)
- OEM Parts (99)
- OIL COOLER (62)
- Other Parts (1681)
- Scooter Parts (3764)
- Snowmobile and Snow Blower Parts (2863)
- Snowmobile Parts (2)
- Tractor and Trailer and Truck Parts (7451)
- Tractor Parts (40)
- UTV Parts (8205)
Product tags
Description
LED Power: 72W (24 x 3W High Intensity LED)
Beam Pattern: Spot Flood Beam; Lumen: 7200LM
Input Voltage: 9-30V DC (fits 12V, 24V vehicles)
Working Lifespan: Over 30,000 hours
Working Temperature: -40~85 degrees Celsius
LED Color Temperature: Pure White 6000K-6500K
Material: 6063 Aluminum Profile, High quality Led Chips, PC Lens
Waterproof Rate: IP67; Waterproof, dustproof, quakeproof and anti-corrosive
Certifications: CE, FCC and RoHS
Applications:
Off Road Lighting: Back Up Light, Jeeps, 4×4, Cars, Motorcycles, ATV, UTV, SUV, Truck, Trailer, Forklift, Trains, Boat, Bus, Road Buggy, Sand Rail, etc.
Other Lighting: Excavator, Dozer, Road Roller, Crane, Tractor, Harvester, Grain Drill, Mower, Snowplow, Fire engine, Rescue Vehicle, Camping, Mining, Construction Lighting, etc.
Household Lighting: Garden, Backyard, Garage, Indoor Lighting. (Note: Use a voltage transformer/converter to convert the AC 110-120V to DC 12V for indoor use.)
Package includes:
1x12inch 72w Dual Row LED Light Bar
Wiring Harness Kit With Rocker SwitchW
Necessary mounting hardware like bolts, washers included
Installation:
Test the light to make sure it can work properly. (Red line is positive, black line is negative.)
Install the hex nuts on the bolts, And twist the spring meson .
Make the bolts go through the mounting holes And set into the spring meson, And then tighten the hex nut.
Connect the power line to the corresponding power connector.
Make sure the light is installed steadily, And then start the power.

